3. How to install ABT
3.1. Prerequisite
ABT can be used on any rooted tablet of your choice. To install ABT on a rooted tablet, you will require
- a working Internet connection and
- 400MB of free space on internal/external SD card.
3.2. Start installation
- You will need an internet connection to download files onto the tablet.
3.2.1. Set proxy settings
- If you work behind a proxy server, ensure that you bypass localhost under proxy settings. You can skip this step if you have a direct Internet connection.
- You can find this option under Settings and WiFi. Ensure that WIFI is turned ON. Long press on the WIFI network that you want to connect to. Then, choose Modify network.
- Check Show Advanced Options checkbox.
- Add an entry for 127.0.0.1 to bypass the localhost.
3.2.2. Download ABT APK
- Now, open the web browser on your tablet. Type this URL in the address bar http://aakashlabs.org/ac/iitb/
- Search for Aakash Business Tool & tap on Download.
- It will download ABT.apk file to Download folder of internal card.
- Go to that location. To install, tap on the ABT apk file which you downloaded.
3.2.2.1. Simple and recommended install procedure
- Now open the ABT application from the application menu.
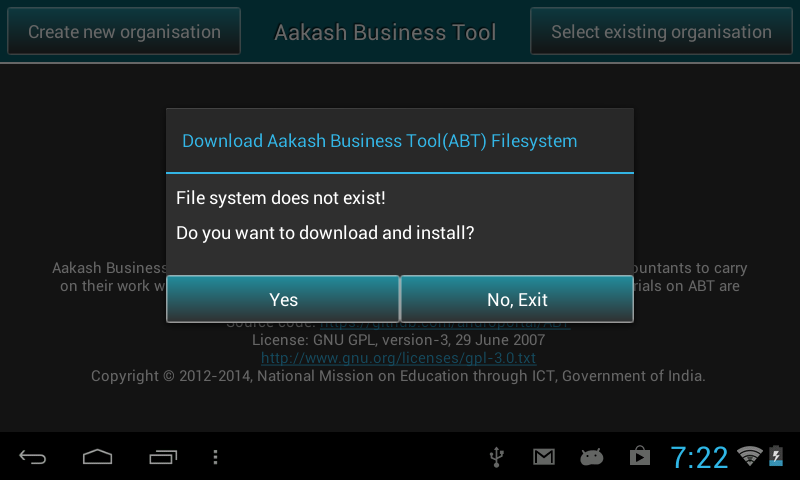
- When we open ABT for the first time it will prompt, File system does not exist! Do you want to download and install?. Select Yes.

- This will download abt.tar.gz file in your internal memory.

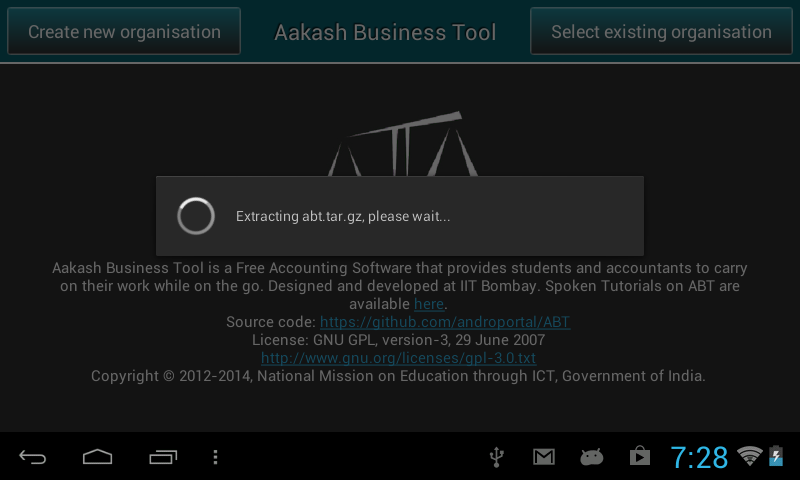
- After downloading the file, it will automatically extract abt.tar.gz file.

- After extraction, it will again prompt To apply changes, please reboot.

- Now click on Reboot, to Reboot the tablet.
- If in case the application asks for superuser permission, say GRANT.
3.2.2.2. Manual installation
- Once you have installed ABT apk, go to the browser. Now type http://www.it.iitb.ac.in/AakashApps/repo/abt.tar.gz in the address bar.
- abt.tar.gz will get downloaded to Download folder of internal sdcard.
- Go to the location and copy or move this file to the internal sd card.

- Now, open ABT application. It will directly start the extraction of abt.tar.gz file.

- After extraction it will prompt the message, To apply changes, please reboot, click on Reboot to Reboot the tablet.

- Aakash Business Tool is ready to use.
3.2.3. Note
In case there is not enough space in internal memory,
- Download and extract abt.tar.gz file on your computer &
- Copy abt.img file to tablet’s external SD card and reboot the tablet.